DIY Air Conditioning Troubleshooting: What You Can Fix Yourself


When your air conditioning system starts acting up, it can be tempting to call a professional immediately. However, there are several issues you might be able to fix on your own. Understanding some basic troubleshooting techniques can save you time and money.
Check the Thermostat
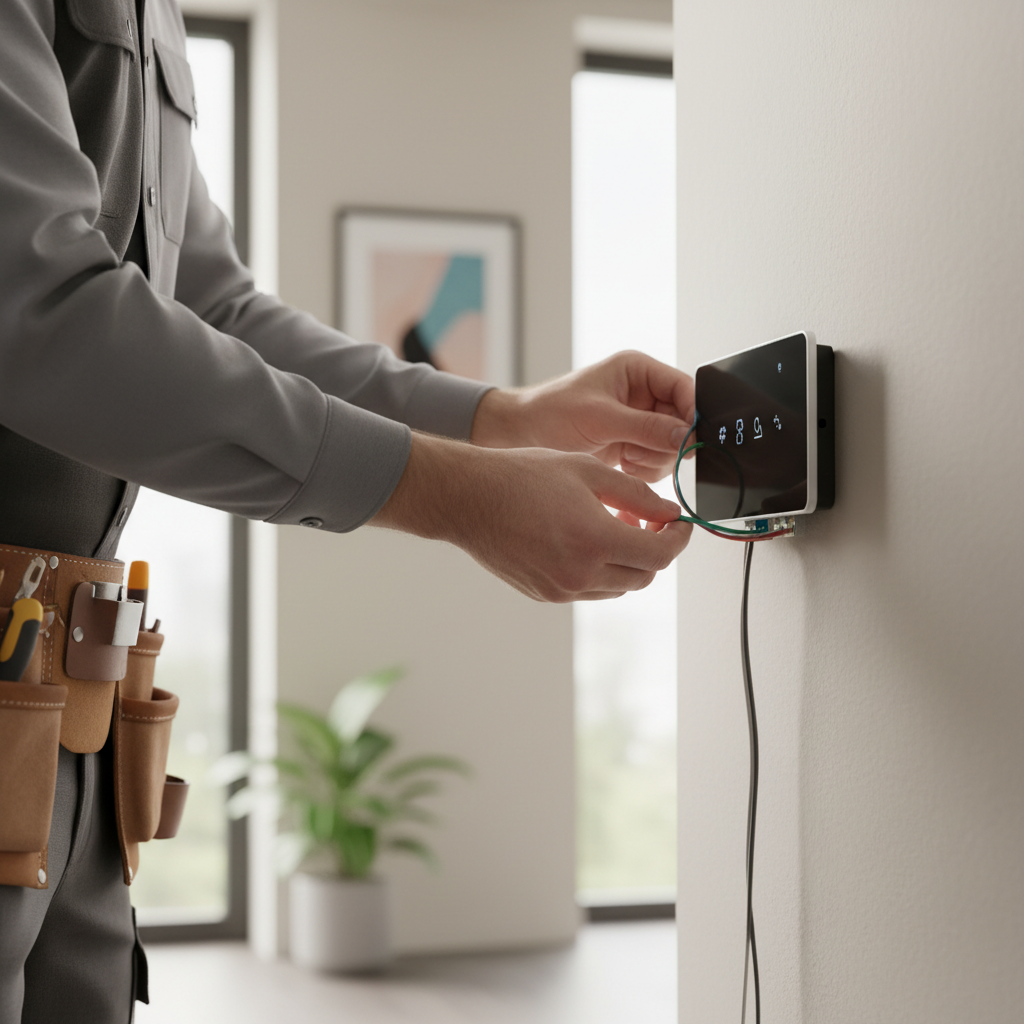
Your thermostat is the brain of your air conditioning system. If something seems off, the first step is to ensure that the thermostat is set to the correct temperature and mode. Sometimes, a simple adjustment can resolve the issue. Make sure it’s set to “cool” and that the temperature is set lower than the current room temperature.
If your thermostat is battery-operated, check if the batteries need replacing. This is a common oversight that can easily cause the system to malfunction.
Inspect Air Filters
Clogged or dirty air filters can severely impact your AC’s performance. Over time, filters accumulate dust and debris, reducing airflow and causing the unit to work harder than necessary. This not only affects cooling efficiency but also increases energy consumption.
Check your air filters monthly; if they’re dirty, replace them. This simple step can improve air quality and ensure that your system runs smoothly.
Examine Circuit Breakers
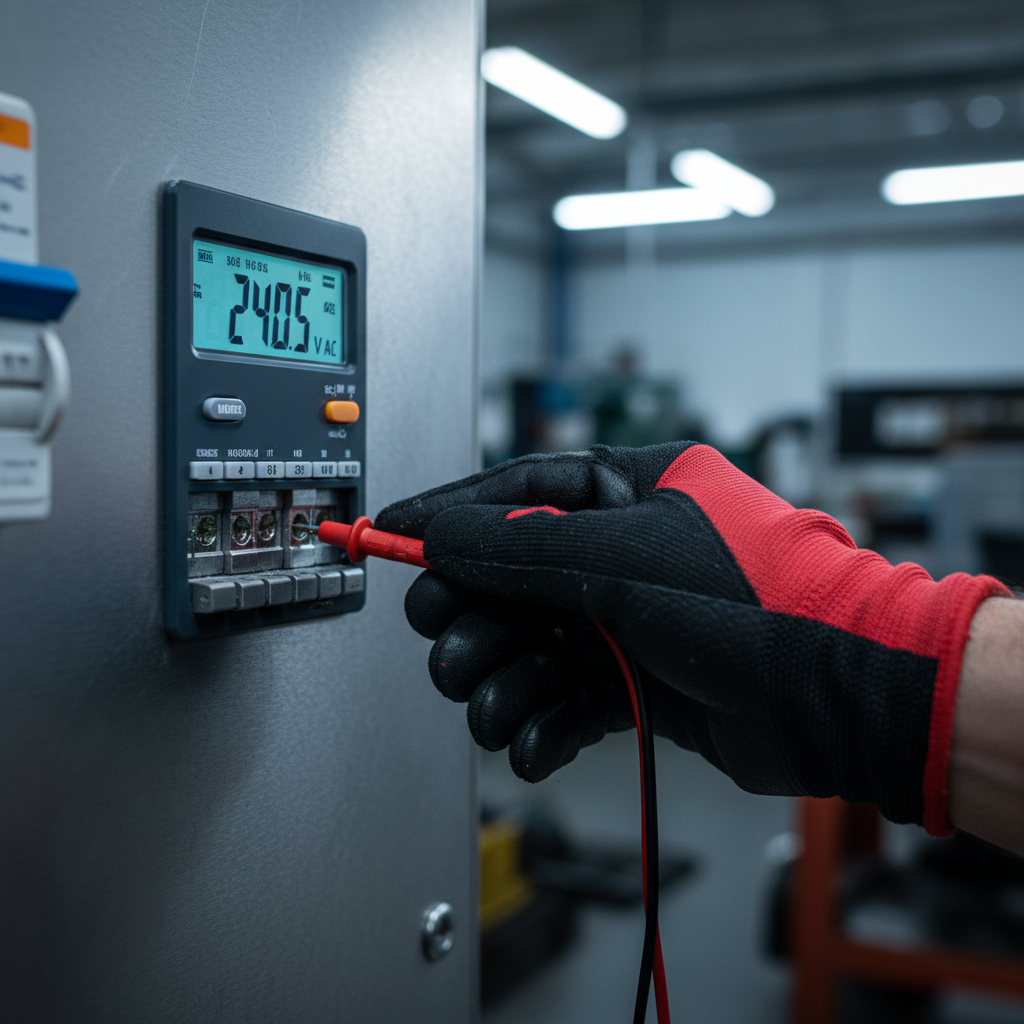
Sometimes, the problem might be as simple as a tripped circuit breaker. Head to your electrical panel and check if the breaker for your AC unit has been tripped. If it has, reset it and see if this resolves the issue. If the breaker continues to trip, it might indicate a more serious electrical problem that requires professional attention.
Look for Blocked Vents
Blocked or closed vents can disrupt the airflow, causing uneven cooling or even system shutdowns. Walk through your home and ensure all vents are open and unobstructed by furniture, curtains, or other objects. Proper airflow is crucial for your AC to function effectively.
Inspect the Outdoor Unit
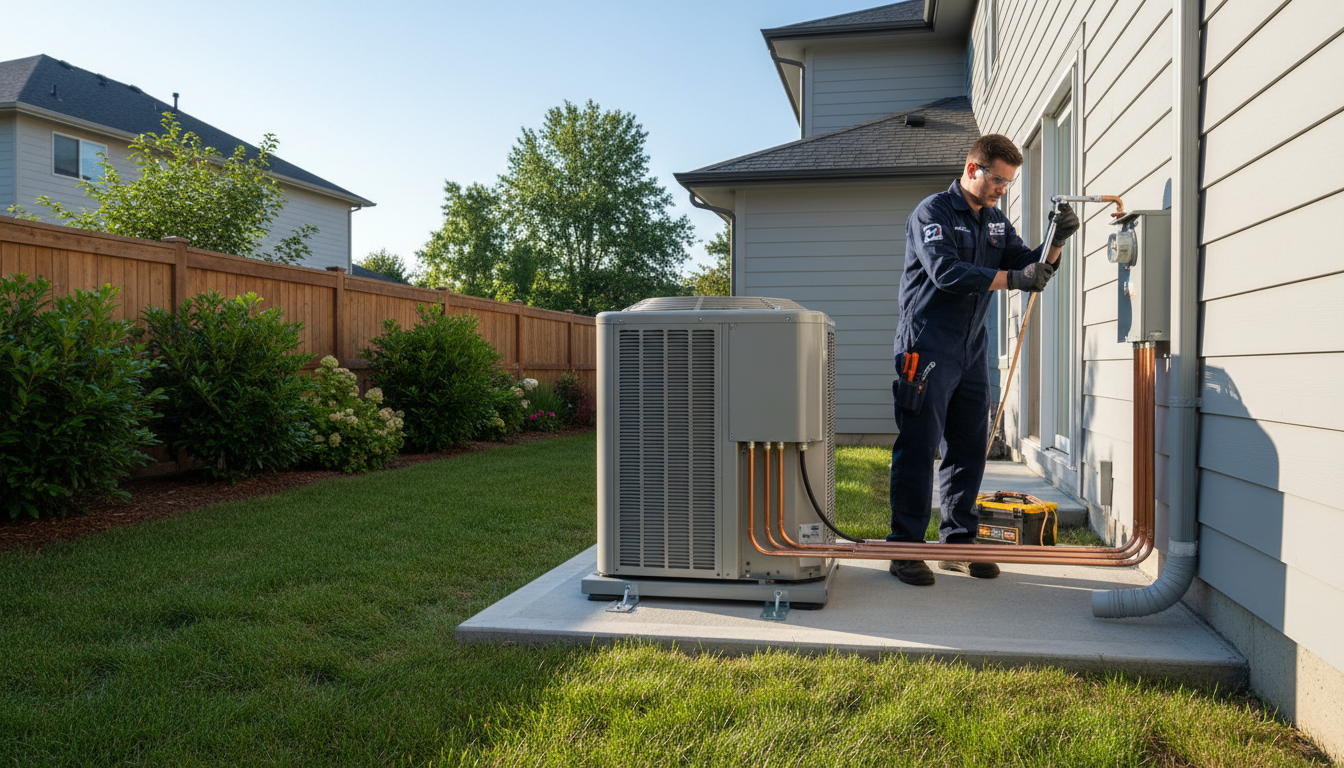
Your outdoor unit can accumulate leaves, dirt, and other debris, which can impede its operation. Regularly inspect the unit and clear away any obstructions. You should also ensure that there’s at least a two-foot clearance around the unit for optimal performance.
Additionally, check the unit's fins for any damage. Bent fins can restrict airflow, so carefully straighten them with a fin comb if needed.
Check Refrigerant Levels
Low refrigerant levels can lead to poor cooling performance. While adding refrigerant is generally a job for professionals, you can identify the issue by looking for signs like icy buildup on the lines or a hissing sound, which may indicate a leak.
When to Call a Professional
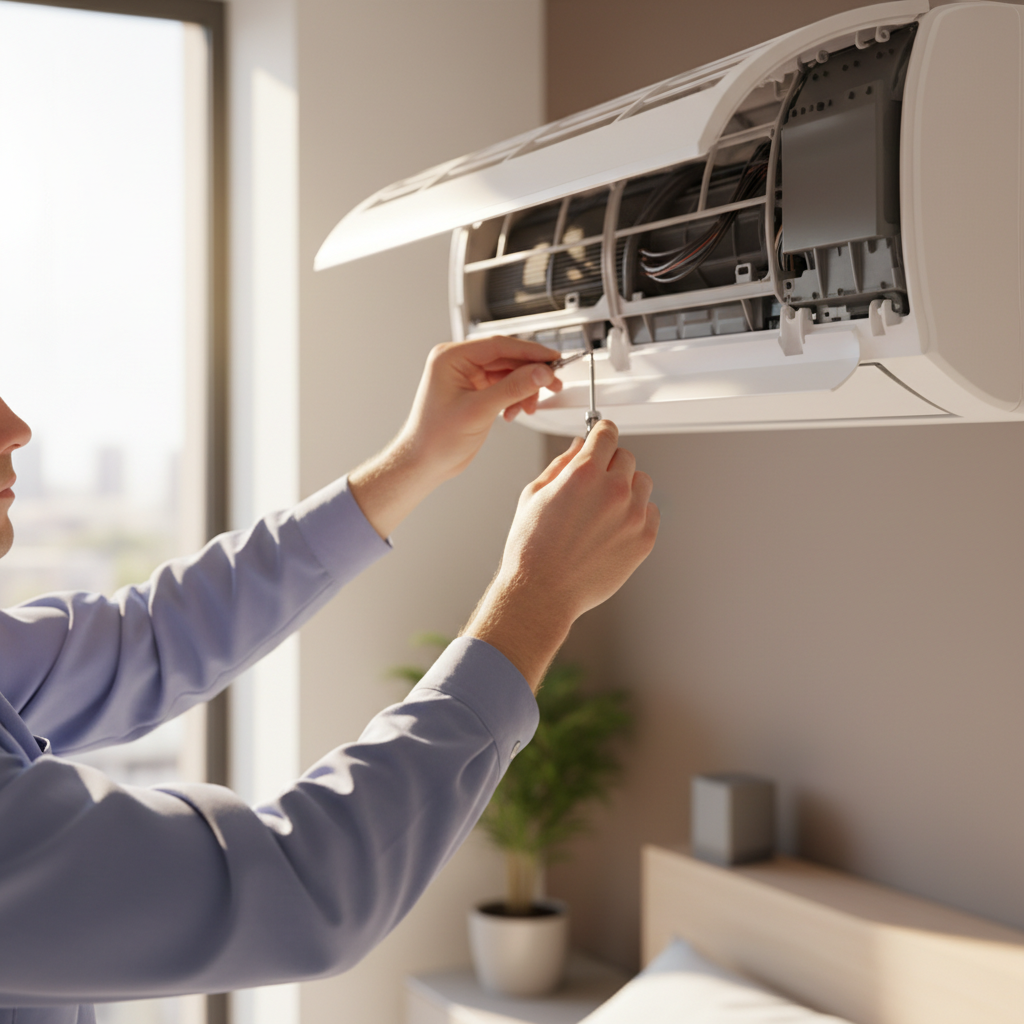
While many issues can be resolved with DIY troubleshooting, some problems require expert intervention. If you’ve tried these steps and your AC is still not functioning correctly, it’s time to call in a professional. Issues like electrical problems, refrigerant handling, and component repairs should be left to those with the right skills and equipment.
By understanding and applying these basic troubleshooting techniques, you can maintain your AC system efficiently and extend its lifespan. Regular maintenance and prompt attention to minor issues can prevent major repairs down the line.